WiFi Pineapple - Enterprise
  • WiFi Pineapple Enterprise
  • Setup
    • Physical Connections
    • Setting up your WiFi Pineapple
    • Connecting to the WiFi Pineapple on Linux
    • Connecting to the WiFi Pineapple on Windows
    • Connecting to the WiFi Pineapple over WiFi
    • Setup by USB Disk
    • Persistent Storage
  • UI Overview
    • Introduction to the UI
    • Dashboard
    • Campaigns
    • PineAP
    • Recon
    • Handshakes
    • Modules
    • Settings
    • Cloud C²
  • Developer Documentation
    • Developer Resources
    • Contributing to the Module Repository
  • FAQ / Troubleshooting
    • Establishing an Internet Connection
      • Configuring a Client Mode Connection
      • Configuring ICS on Linux
      • Configuring ICS on Windows
      • Configuring a USB Ethernet Adapter
    • Password Reset
    • Factory Reset and Recovery
    • WiFi Pineapple Updates
    • WiFi Pineapple Beta Updates
    • Compatible 802.11ac Adapters
  • WiFi Basics
    • Introduction to WiFi
    • Radios and Chipsets
    • Stations and APs
    • Transmit Power
    • Antennas
    • Channels and Regions
    • Protocols
    • Modes of Operation
    • Logical Configurations
    • MAC Addresses
    • Broadcast and Multicast MAC Addresses
    • SSIDs
    • 802.11 Frame Types
    • 802.11 Frame Structure
    • Management Frames
    • Frame Injection
    • Association and State
Powered by GitBook
On this page
  1. Setup

Connecting to the WiFi Pineapple on Windows

This guide teaches the basics of connecting to the WiFi Pineapple on Windows.

Last updated 3 years ago

The following guide is designed to work on Windows 11, although the same or similar steps apply to Windows 10/8.1/8/7 too.

Configuration via GUI

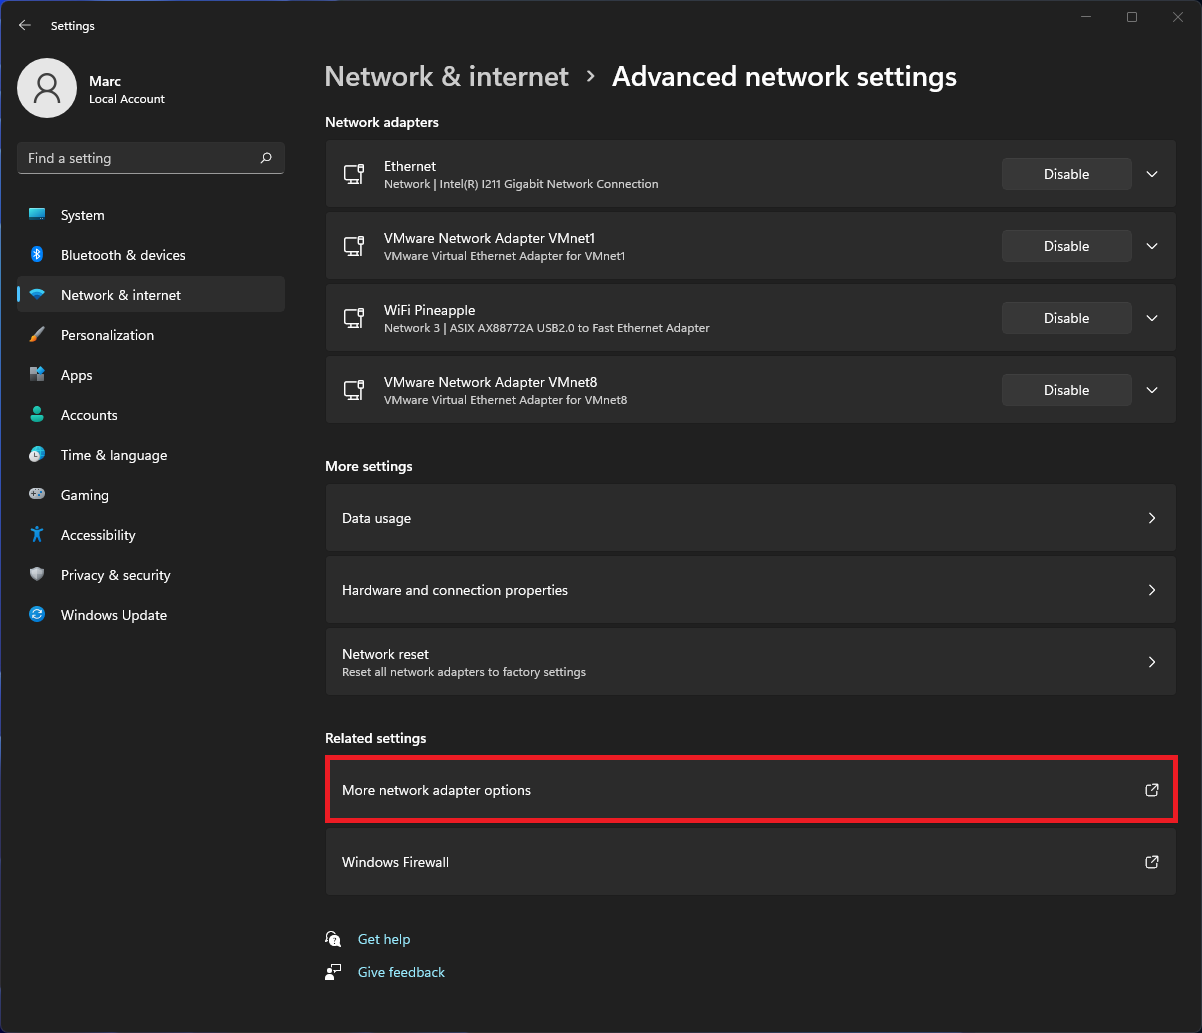
Start by opening the Network & Internet settings in the Windows settings application. Scroll down to Related settings and click More network adapter options.

In the new window, right click the adapter that represent your WiFi Pineapple and select Properties. Then, select the text Internet Protocol Version 4 (TCP/IPv4), and then click Properties again.

In the new properties window, configure the following static settings:

  • IP Address: 172.16.42.42

  • Subnet Mask: 255.255.0.0

  • Default Gateway: Blank

  • Preferred DNS: 8.8.8.8

  • Alternate DNS: 8.8.4.4

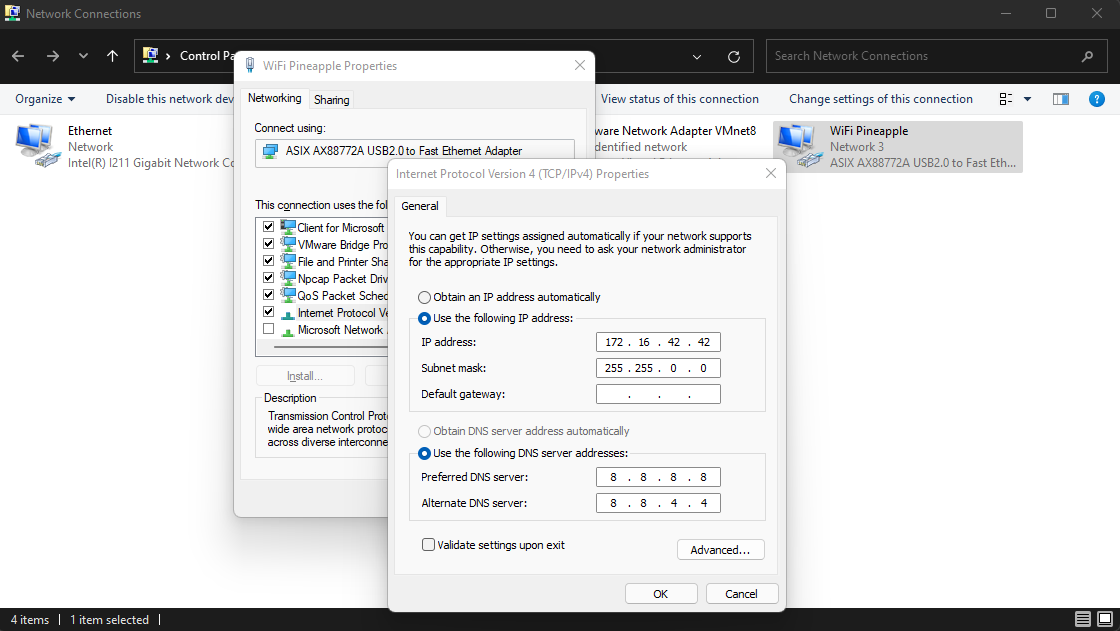
You may set your own preferred and alternate DNS servers if desired, but Google's DNS is recommended.