Unboxing "Quack-Start" Guide
Before using your new USB Rubber Ducky please read this page start to finish!
It will answer many of the questions you may already have and set you up for success!
DO NOT FLASH. The limited warranty does not cover damage caused by firmware flash. Flashing legacy or third-party firmware will render the device irrecoverable. The new USB Rubber Ducky is architected in conjunction with Payload Studio such that firmware flashing will never be required. Disregard articles related to the old USB Rubber Ducky and rely solely on the official documentation here at docs.hak5.org.
Welcome to the USB Rubber Ducky — the king of Keystroke Injection! Within the hundred plus pages of this documentation you’ll uncover gems of DuckyScript 3.0 that will take your payloads to the next level. If you’re reading this soon after getting the device in hand, you’ll probably want to jump right in. To that end, these are the top five tips for getting started!

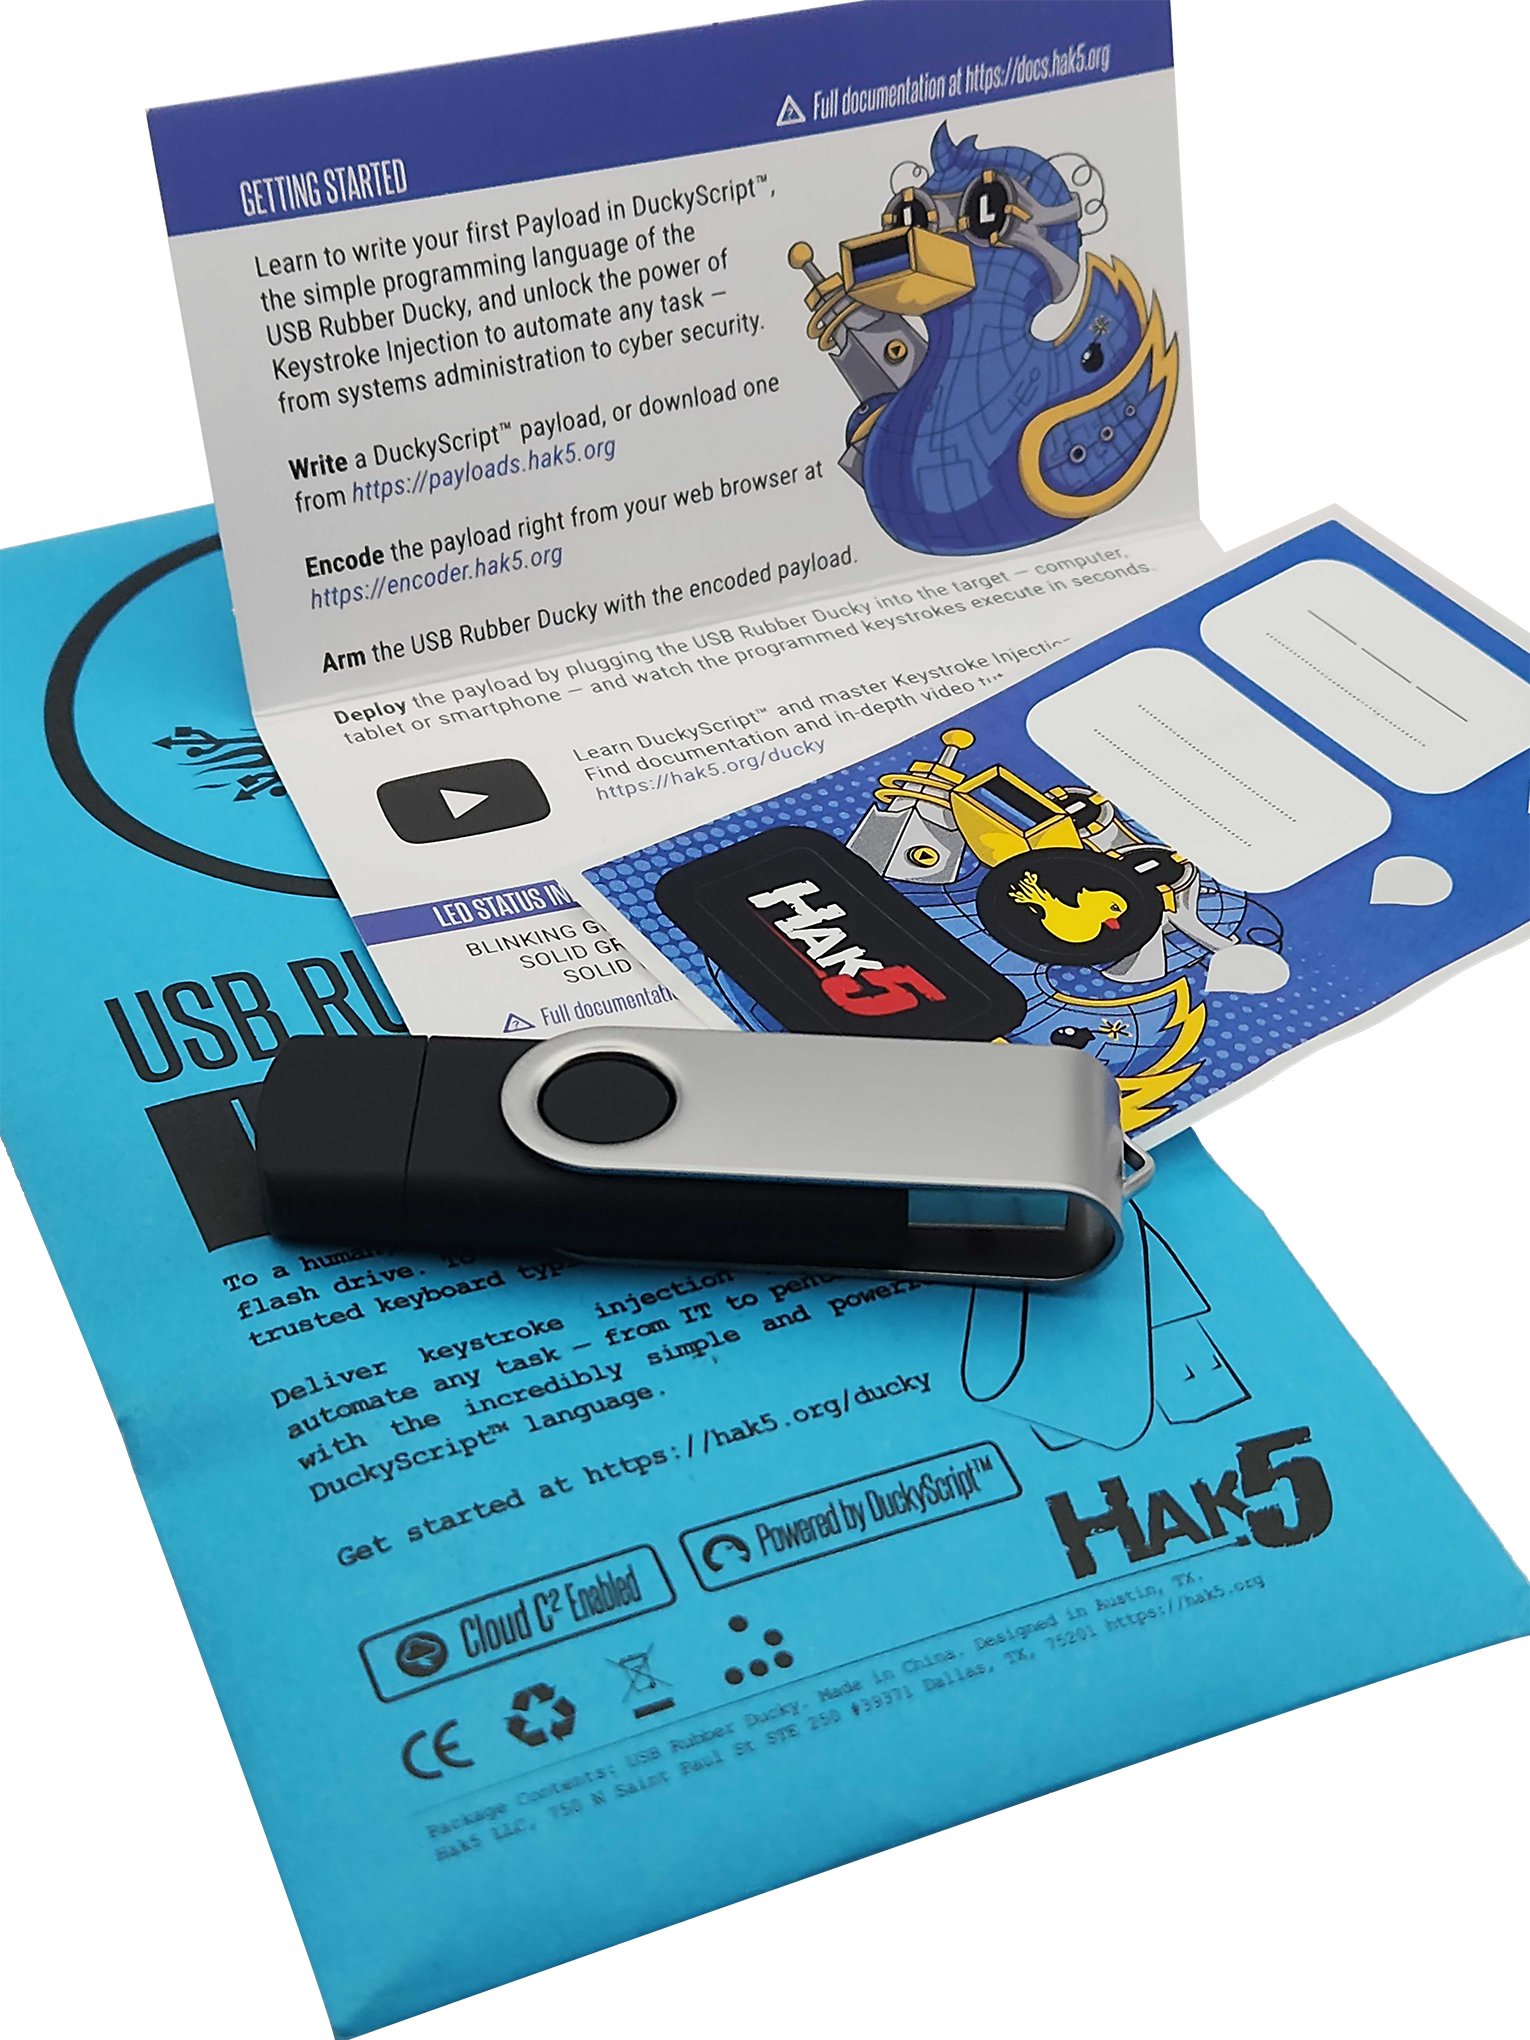
USB Rubber Ducky unboxed
1. The button and Arming Mode are your friend
When you first plug in the USB Rubber Ducky, it’ll show up on your computer as a regular flash drive with the label “DUCKY”. It may even be from the Getting Started link here that you’ve found this article. Welcome!
When the USB Rubber Ducky shows up as a flash drive on the computer you’re using to set up the device, it’s what we call “arming mode”. From here you can “arm” a payload simply by replacing the inject.bin file (more on that in a moment) on the root of the DUCKY drive.
If you’re coming over from the classic USB Rubber Ducky, this process should sound familiar — except for the fact that you no longer need to use a MicroSD card reader to get access to the file system.
If you copy over a classic DuckyScript payload — either in binary inject.bin format, or compiled from the new PayloadStudio (formerly called an encoder) the USB Rubber Ducky will dutifully execute the pre-programmed keystrokes.
It will not however show up as a mass storage “flash drive” — so you may be wondering, how do I get it back into “arming mode”?
Press the button
By default, if no other BUTTON_DEF is defined, pressing the button during or after payload execution will cause the USB Rubber Ducky to execute “ATTACKMODE STORAGE” — which is essentially “arming mode” (re-connect to the computer as a regular ol’ flash drive).
Only press the button after inserting the USB Rubber Ducky. Pressing or holding the button while inserting the device will not result in arming mode (ATTACKMODE STORAGE).
You’ll absolutely want to familiarize yourself with the chapter on The Button, as well as Attack Modes to make the best use of DuckyScript 3.0 — but if you just want to jump into trying out payloads, this is handy to know.
While you can always get to the filesystem of the USB Rubber Ducky by removing the MicroSD card and using a card reader, knowing this important nuance of the new USB Rubber Ducky design will save you a lot of time in development. You may even consider adding a convenient ATTACKMODE HID STORAGE to the beginning of your payloads, or even just ATTACKMODE STORAGE followed by WAIT_FOR_BUTTON_PRESS before going into a HID attack using ATTACKMODE HID — just to keep access convenient.
And if you want even more convenient access to arming mode, you’ll absolutely want to perform the next hack!
2. Mod the case for a squeeze-to-press button
So how do you press the button if it’s inside the case? We noodled in this one in development for quite some time. Everything from pin-holes and jumpers to magnets were considered… Then, an extremely elegant solution was found. Layer stickers inside the case above the button so you could squeeze to press.
So, why a mod to enable access to the button?
- optional
- reversable
- retains stealth even when enabled
- adjustable to your liking
- retains compatibility with cases of the same design (like these colored ones!)
Don’t need the button on your deployment? Don’t do the mod. Want more or less clickiness? Layer more or fewer spacer stickers.
It’s surprisingly effective, and goes absolutely unnoticed if you’re not aware it’s there. So, here’s how to perform the mod.
For this open-case duck surgery you’re going to need:
- New USB Rubber Ducky
- Its included sticker sheet
- Pick or pry tool (author admits he uses a fingernail)
Step One: Open the case
Remove the metal sheath and the USB-C cap, then carefully separate the top and bottom plastics at the seam. The top and bottom are held together with matching ports and posts. With the PCB seated button-side-up in one half of the case, line up the other side of the case such that you can see where the button lines up with the case. The case may be more difficult to open the first time doing so. A pry tool that can aid in making the job easier.
We suggest keeping the microSD card that comes with the USB Rubber Ducky. The smaller size helps reduce boot time. Keeping many files on or swapping the microSD card for a larger capacity one may decrease the speed at which you can deploy a payload.
Step Two: Apply the spacer stickers
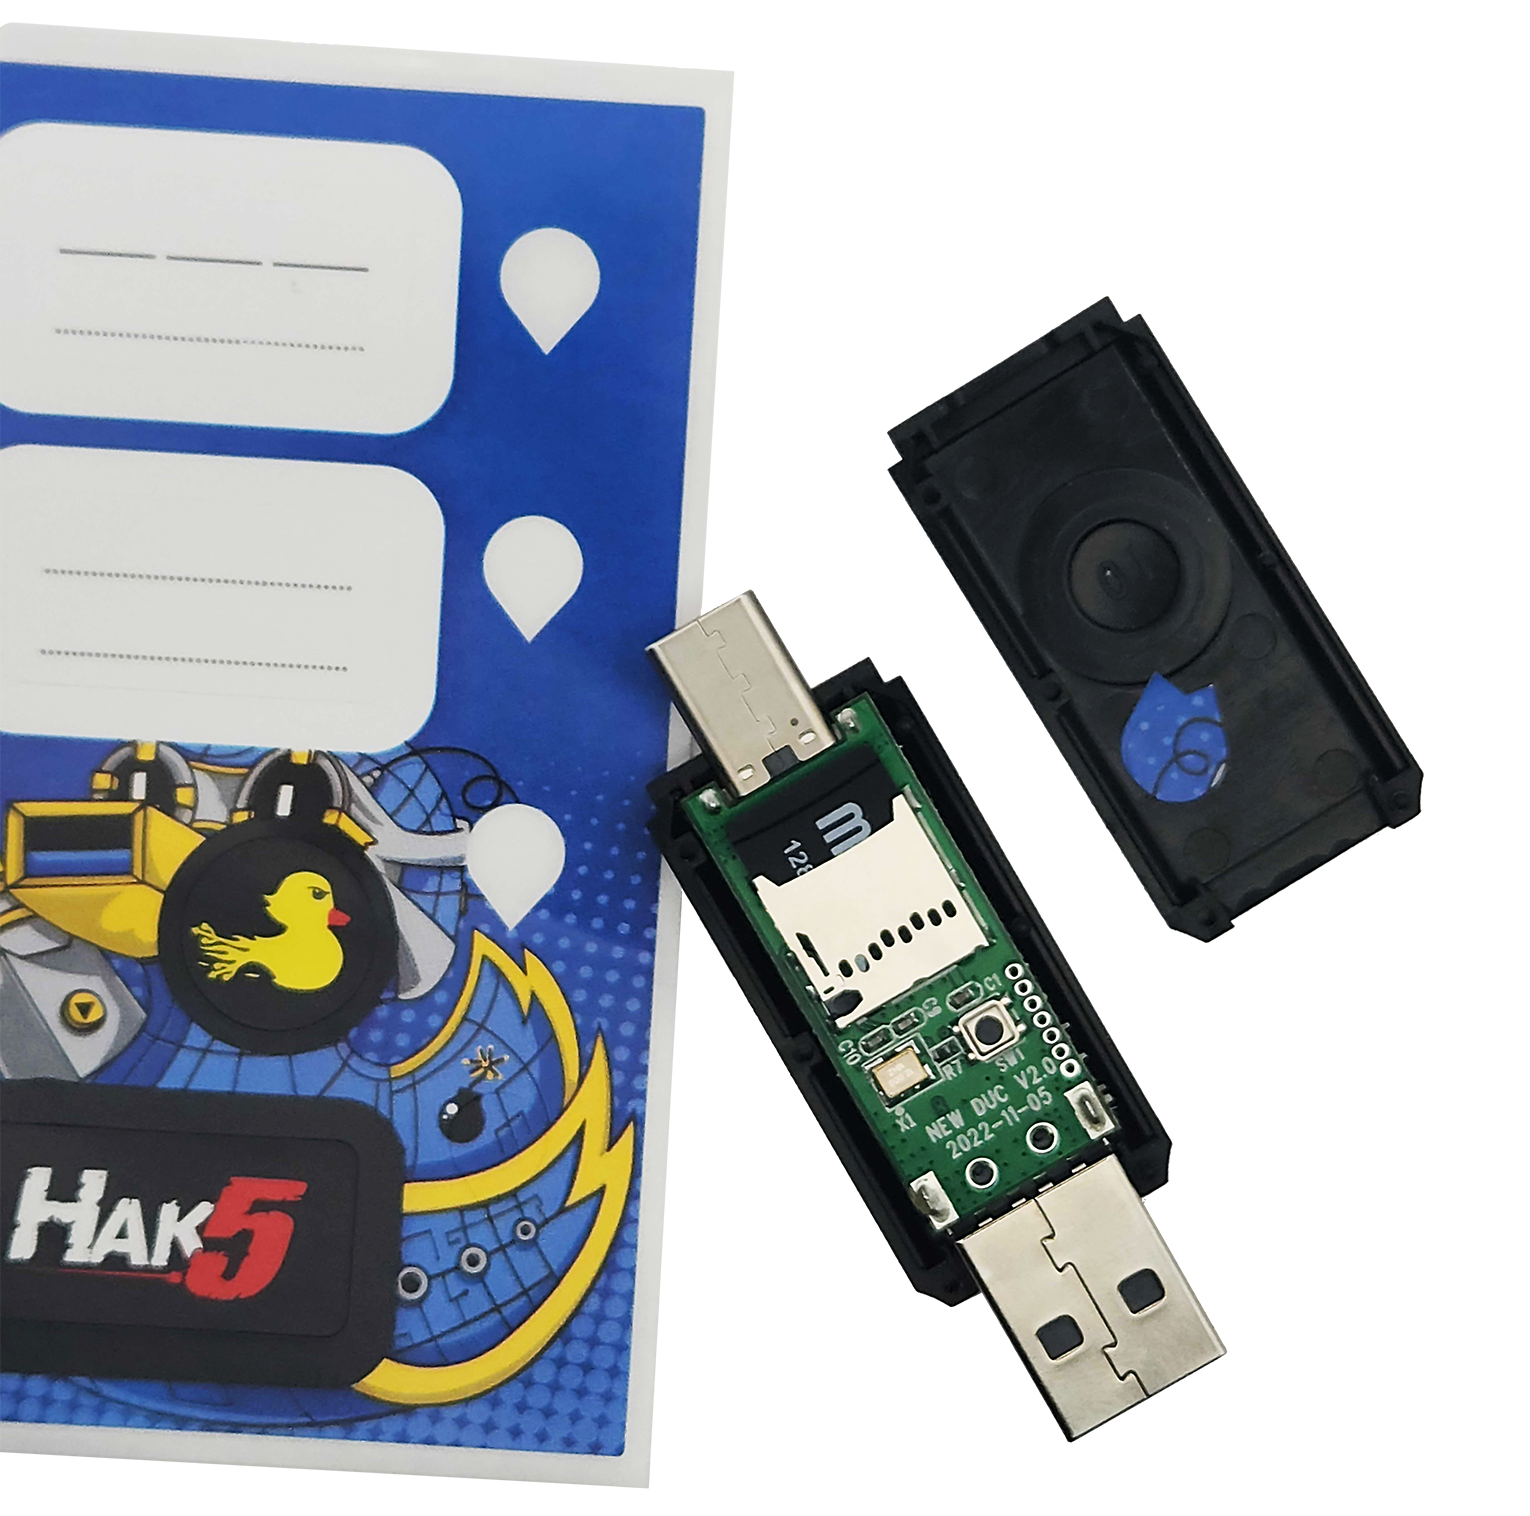
“Rain-drop” sticker cutouts can be found along the right side of the sticker sheet. Apply two to four layers of the sticker on the inside of the case opposite of the button. The more layers you apply, the easier it will be to squeeze-to-press; 2 or 3 should suffice, however, test and adjust to your liking.

USB Rubber Ducky with sticker mod
In the event you’ve lost the included sticker sheet or need to replace/reenable your button mod, any sticker cut down to the appropriate size should do the trick. The number of layers required will vary depending on the thickness of the sticker material you use. See the picture below for reference.
Step Three: Reassemble the case
With the “rain-drop” sticker cutouts in place, carefully align the plastics such that the ports match the posts. Reassemble, then give the duck a test squeeze to verify the button press. Place the metal sheath back on the device, and you’re in business!
Avoid applying too many stickers - this may cause the button to be permanently depressed with the case reassembled 😔
3. Get familiar with PayloadStudio
Encoding payloads for the USB Rubber Ducky has come a long way. If you’ve been with the project since 2010, you may remember having to use a java-based command line utility. Later on a JavaScript web encoder came along.
Today, writing and compiling payloads couldn’t be easier thanks to PayloadStudio — a full-featured IDE (Integrated Development Environment) for the USB Rubber Ducky, as well as its payload-platform siblings in the Hak5 arsenal!
PayloadStudio is the only officially supported DuckyScript encoder. See the PayloadStudio Docs for more details

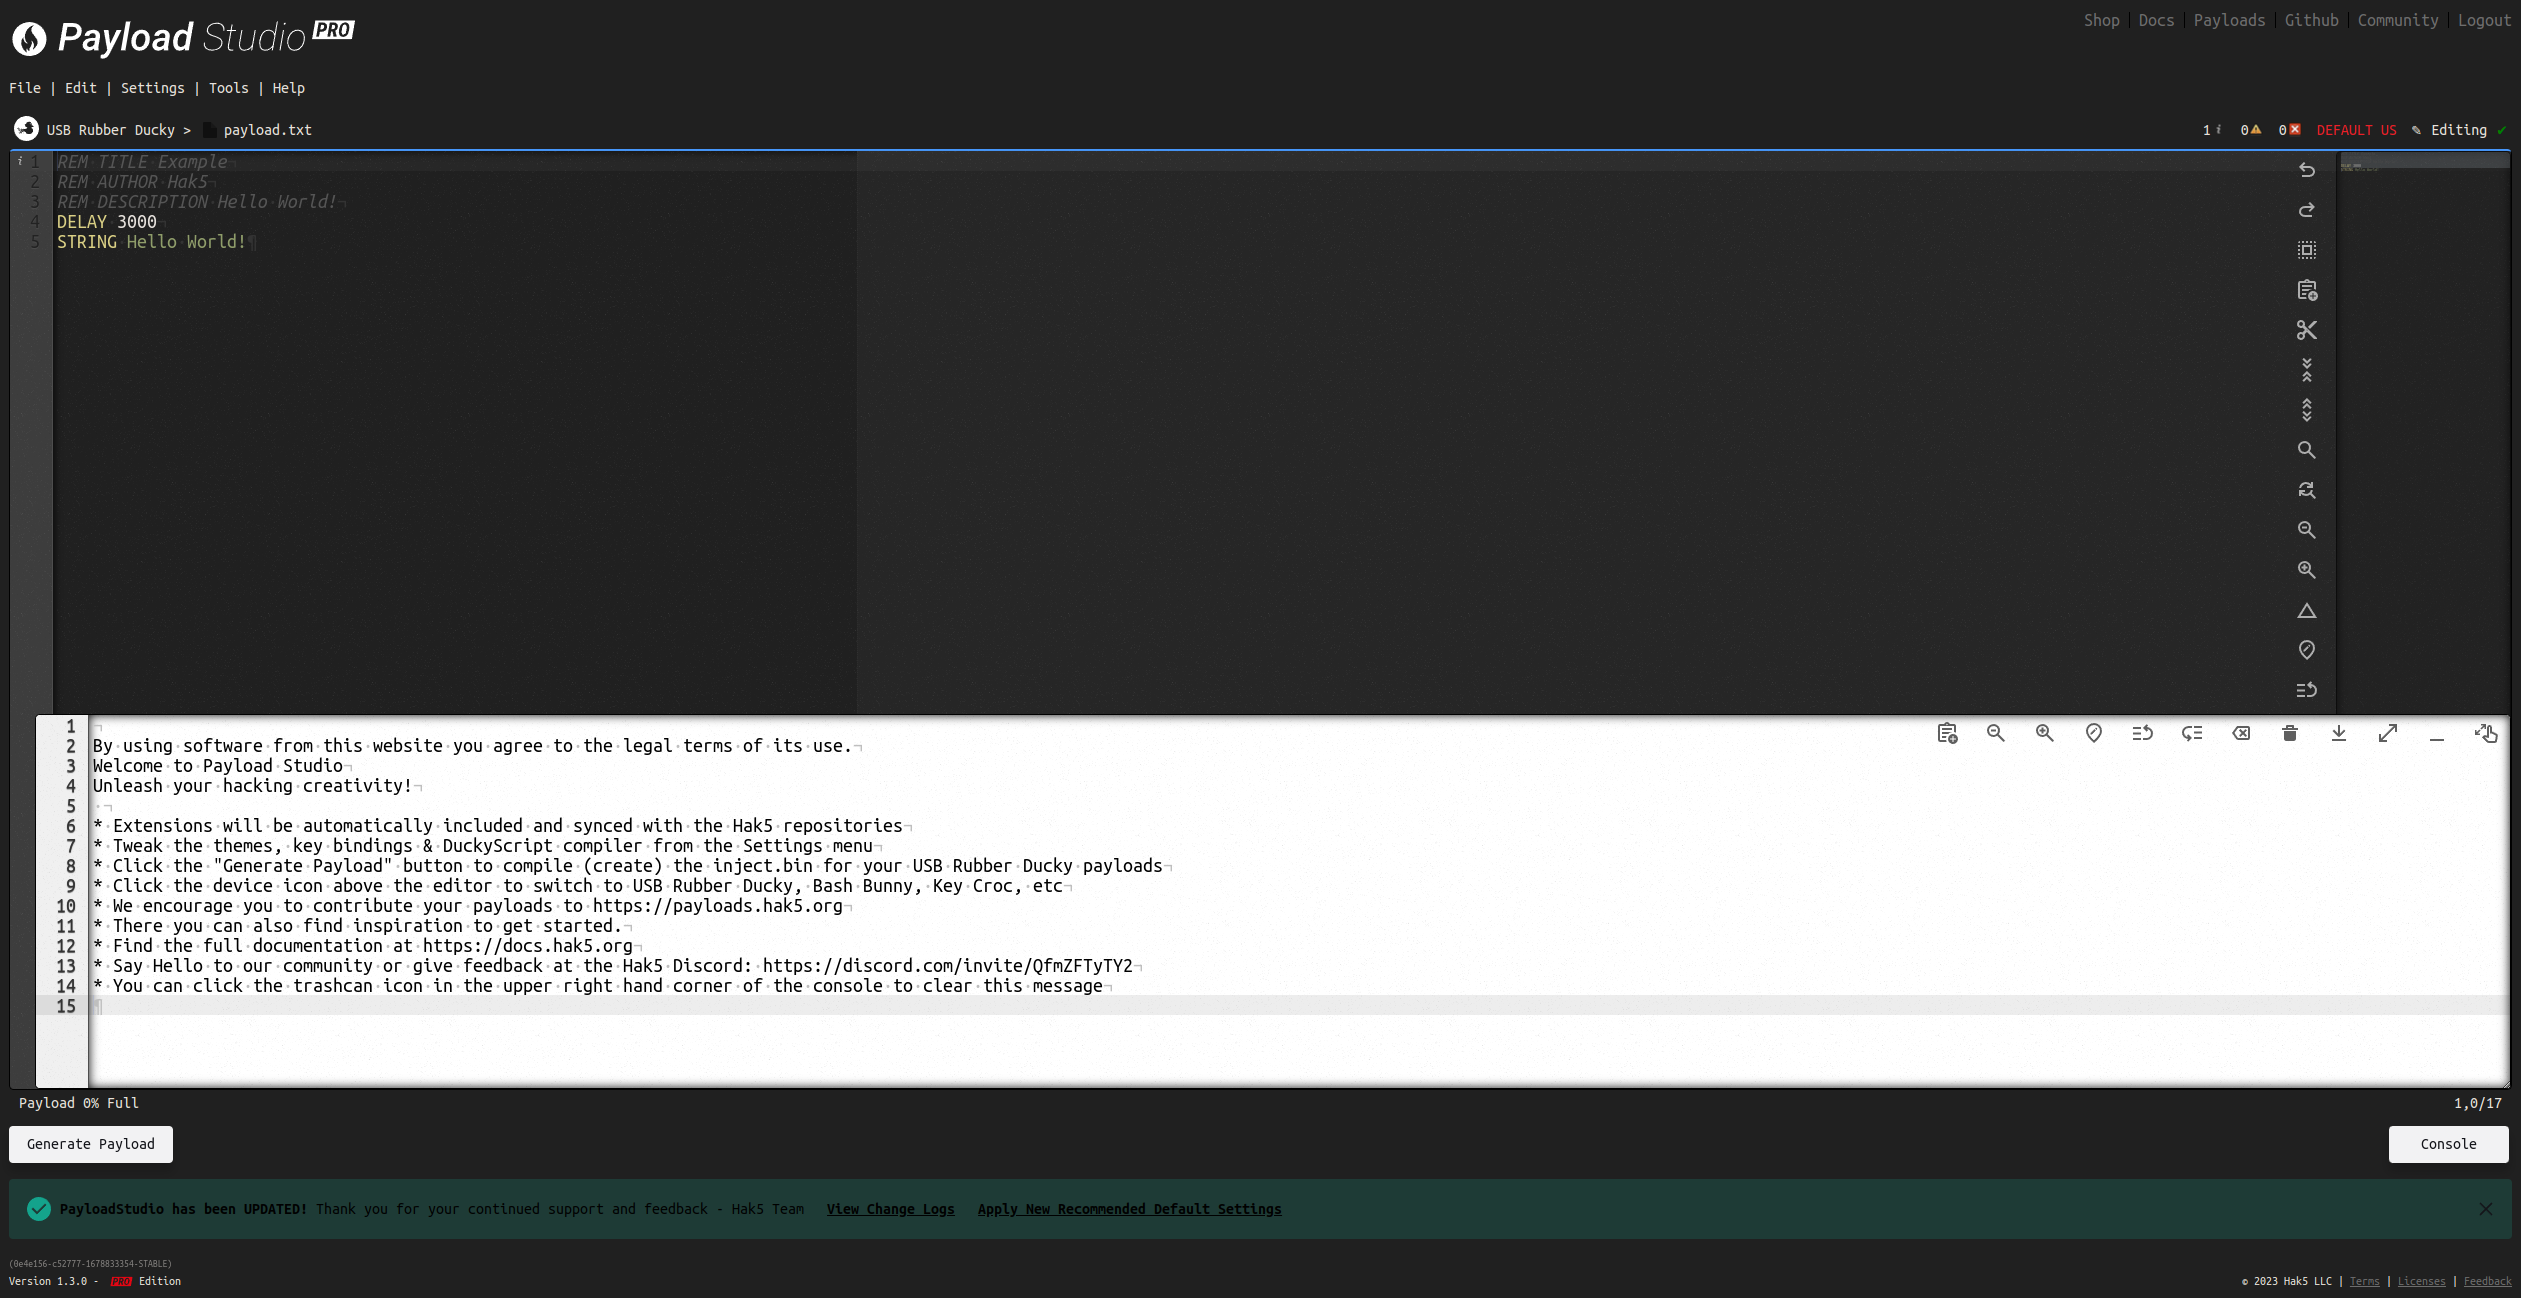
Payload Studio getting started tour
You can customize the experience from the settings menu, which includes dozens of light and dark themes to please the eyes. If you want to take it to the next level, consider unlocking the Pro features for advanced debugging, live error checking, payload tips, keybindings, compiler optimizations and a ton more!
When you’re ready to compile your first DuckyScript, click Generate Payload to compile and download the inject.bin. The console will open providing valuable insights. Copy the inject.bin file on the root of the “DUCKY” storage (replacing any existing file) and you’re off to the races!
To get started, head over to https://PayloadStudio.Hak5.org and try out Community Edition. It’s pre-configured with the most commonly used IDE settings like auto-complete, syntax highlighting and more.
4. Dig into the docs and plethora of payloads
These docs, or the e-book that’s generated from it, contain the entire DuckyScript 3.0 language. Throughout the pages on each concept and command you’ll find practical examples along with the results should you run the example as a payload. You’re encouraged to try them out for yourself.
Crash Course
If you’re looking to run your first payload right away and just want a crash course on the absolute bare bone basics to simply inject keystrokes, you can skip to Hello, World! (which teaches classic DuckyScript in one example) along with familiarizing yourself with The Button we mentioned earlier (hello convenient arming mode!) and the subtleties of Attack Modes.
Read more about the payload development workflow here
Classic Payloads
You’re going to find a ton of DuckyScript classic payloads in the Hak5 repos and highlighted on PayloadHub — so here are two important things to note when using a classic DuckyScript payload on a new USB Rubber Ducky:
Payloads without ATTACKMODE
Classic DuckyScript didn’t have an ATTACKMODE command. In order to be backwards compatible with the thousands of payloads floating around the web, DuckyScript 3.0 automatically assumes ATTACKMODE HID if none is present.
Default button behavior
While the original USB Rubber Ducky featured a button, it was only used to restart a payload. That means if you run a classic DuckyScript payload on your new USB Rubber Ducky, the button is going to assume the default behavior. That is to say, pressing it at any time is going to stop any keystroke injection and re-enumerate on the target as a standard “flash drive”, giving you access to the DUCKY mass storage.
5. Meet fellow Ducky hackers in the community
You’re not alone in your keystroke injection conquest! Fellow hackers from all over the world have taken up arms with the USB Rubber Ducky for well over a decade, and they’re just about the friendliest bunch you’ve ever met.
The Hak5 community is host to some of the most creative hackers on the planet, and you’re encouraged to join ’em. We host a discord server with channels dedicated to the USB Rubber Ducky and PayloadStudio — and you’ll often run into the Hak5 developers themselves here.
Similarly, the Hak5 forums has been going strong since 2005 — so be sure to check out the USB Rubber Ducky sub forum for payload tips and tricks!