Submitting Payloads
Getting started
Submission Considerations
- Try not to submit duplicates of existing payloads for the same device/repo
- Payloads should be fully tested and working as you intend
Payload Repositories by Device
Payloads for each device have their own specific repository. Consider this the payload library for the given device. These repositories are listed below by device:
Each repository should have a README.md or even a dedicated CONTRIBUTING.md that explicitly outline the guidelines for style, acceptable content, etc.
Be sure to read these before starting.
- USB Rubber Ducky
- OMG Devices
- Bash Bunny
- Shark Jack
- Key Croc
- Packet Squirrel
Video introduction
Step by step
If you’re already familiar with Git, many of the below steps will be easier using the command line rather than relying entirely on the github.com UI itself.
Develop your payload
With the above considerations in mind, its time to develop and test your payload! For this we suggest using PayloadStudio
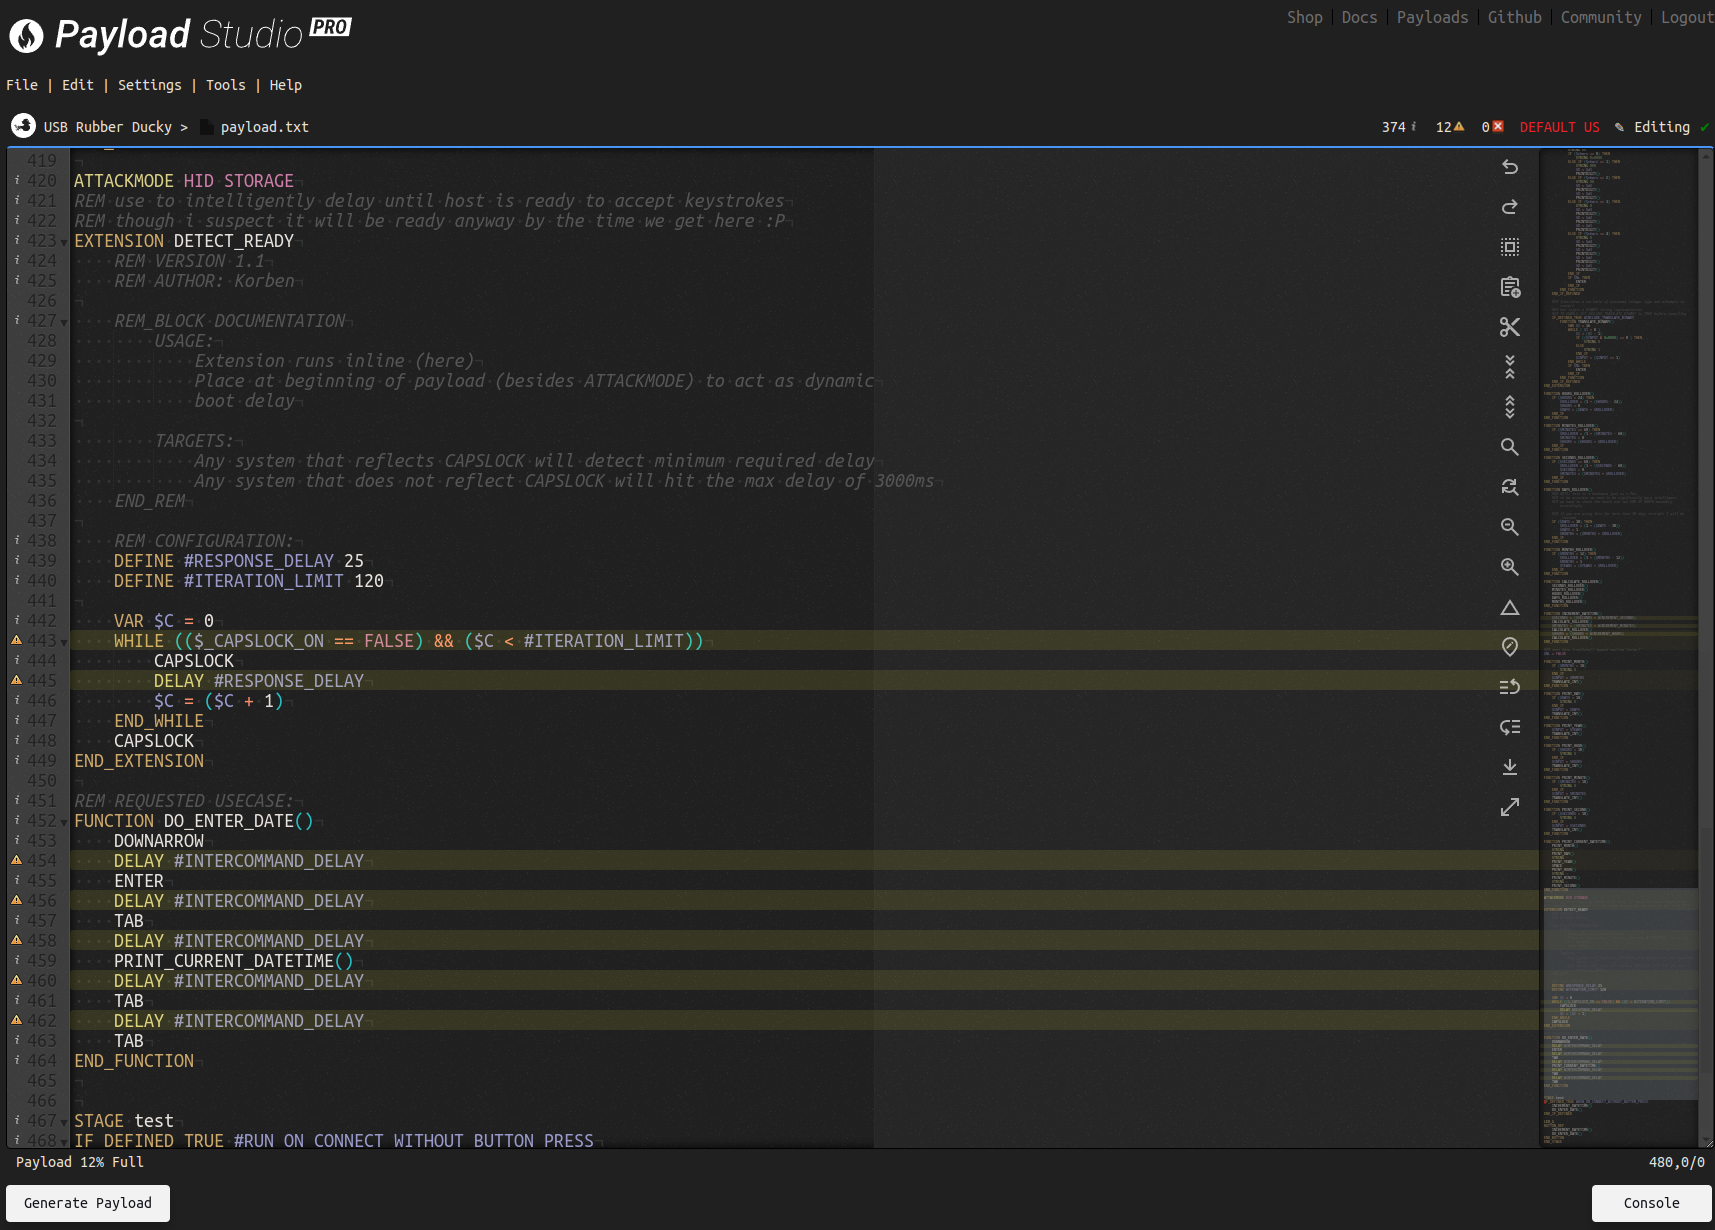
PayloadStudio
How to submit a payload from scratch
This guide is intended to show you how to submit a payload to a Hak5 payload repository on GitHub. To learn all the ins-and-outs of GitHub, we recommend reading the full Getting Started Guide by GitHub.
Fork the Payload Repository
After locating the correct device repository for your submission, navigate to the GitHub page and click the
![]() button
button
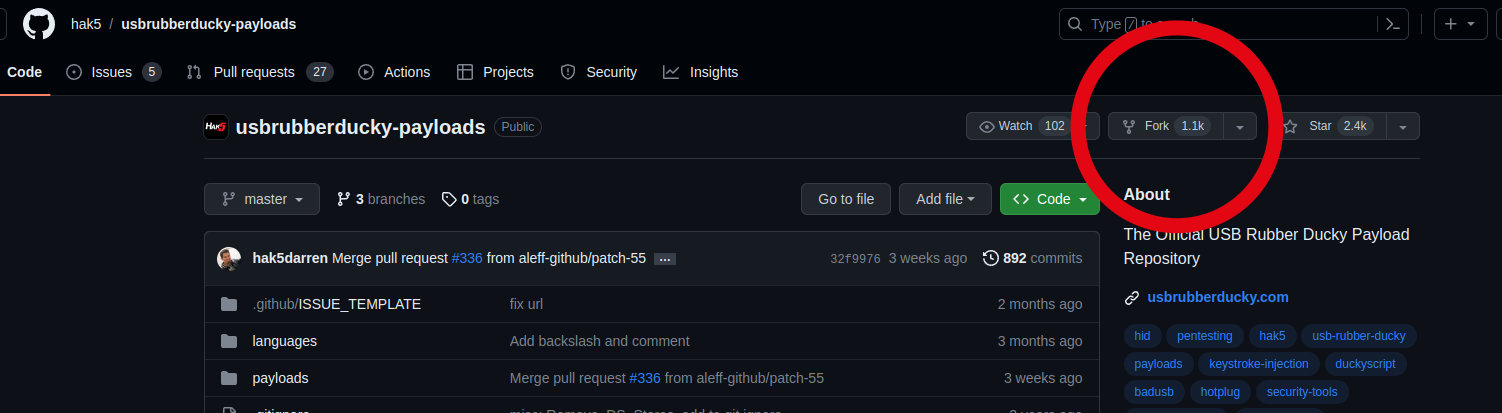
Fork repository button
This will make a direct clone of the repository but on your Github account; This way you have full control over your copy of the repository and are free to make changes.
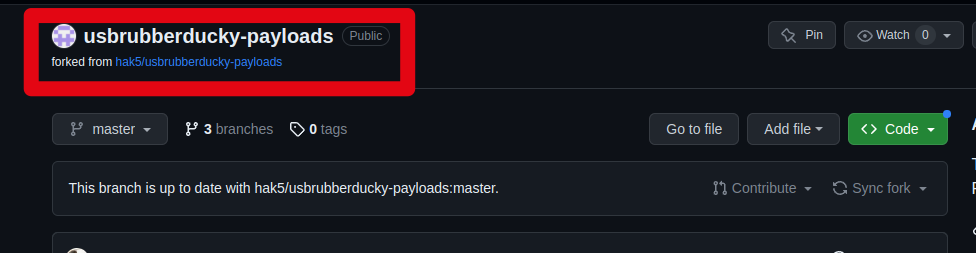
Fork of usbrubberducky-payloads
Add your payload to your fork
Using CLI or Github Desktop app
If you are already comfortable using git via CLI or even using the GitHub desktop app, then its business as usual from here. Clone your forked repo to your machine, branch, make changes, commit, push as you normally would and when you’re ready continue to #submit-your-payload\
Using the GitHub web UI
After locating the appropriate category for your payload navigate to that folder and then click
Add File > Create New File
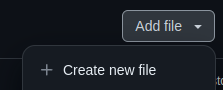
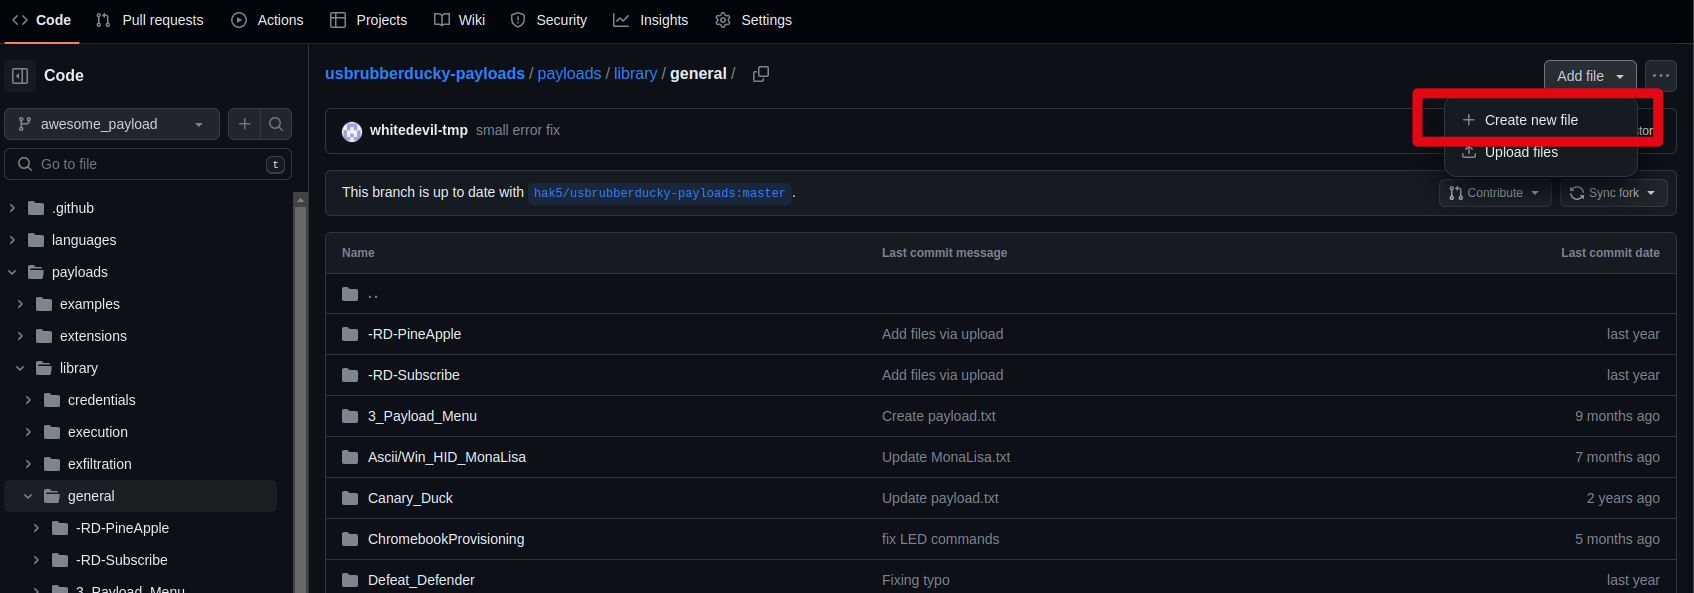
Create a new file in the correct category
Create a folder for your payload
You can create a new directory simply by typing the name of the directory you want to create followed by /

Create a folder
Name your payload file
Name you payload file as required by the target device. Some devices require the payload to be a certain file name, file extension, or both. Make sure to take a look at the repo READEME, other payloads, and the official documentation for the device you are developing for.

Name your payload
Add your payload
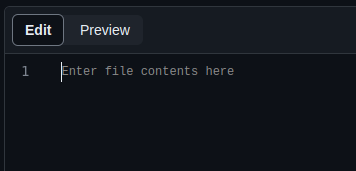
Enter your payload file contents
Commit your changes
A “commit” in git is essentially “saving your changes” or rather committing to the changes you have made. Once you’ve added your payload contents make sure to click Commit Changes


Commit changes
Write a description of the changes
During the commit process you will be prompted to write a commit message and description. These will be saved along with your changes so that, in the future, yourself and others can understand what exactly changed in this commit.

Commit changes
Repeat the above process for any other files your payload requires; Consider adding a README.md so that others can fully understand your payload in depth.
Submit your payload via Pull Request
Now that your forked repo has your new payload folder added, when you are ready to submit it to be merged back into the official Hak5 repository you can do so by opening a pull request.
Opening a Pull Request

Contribute > Open pull request
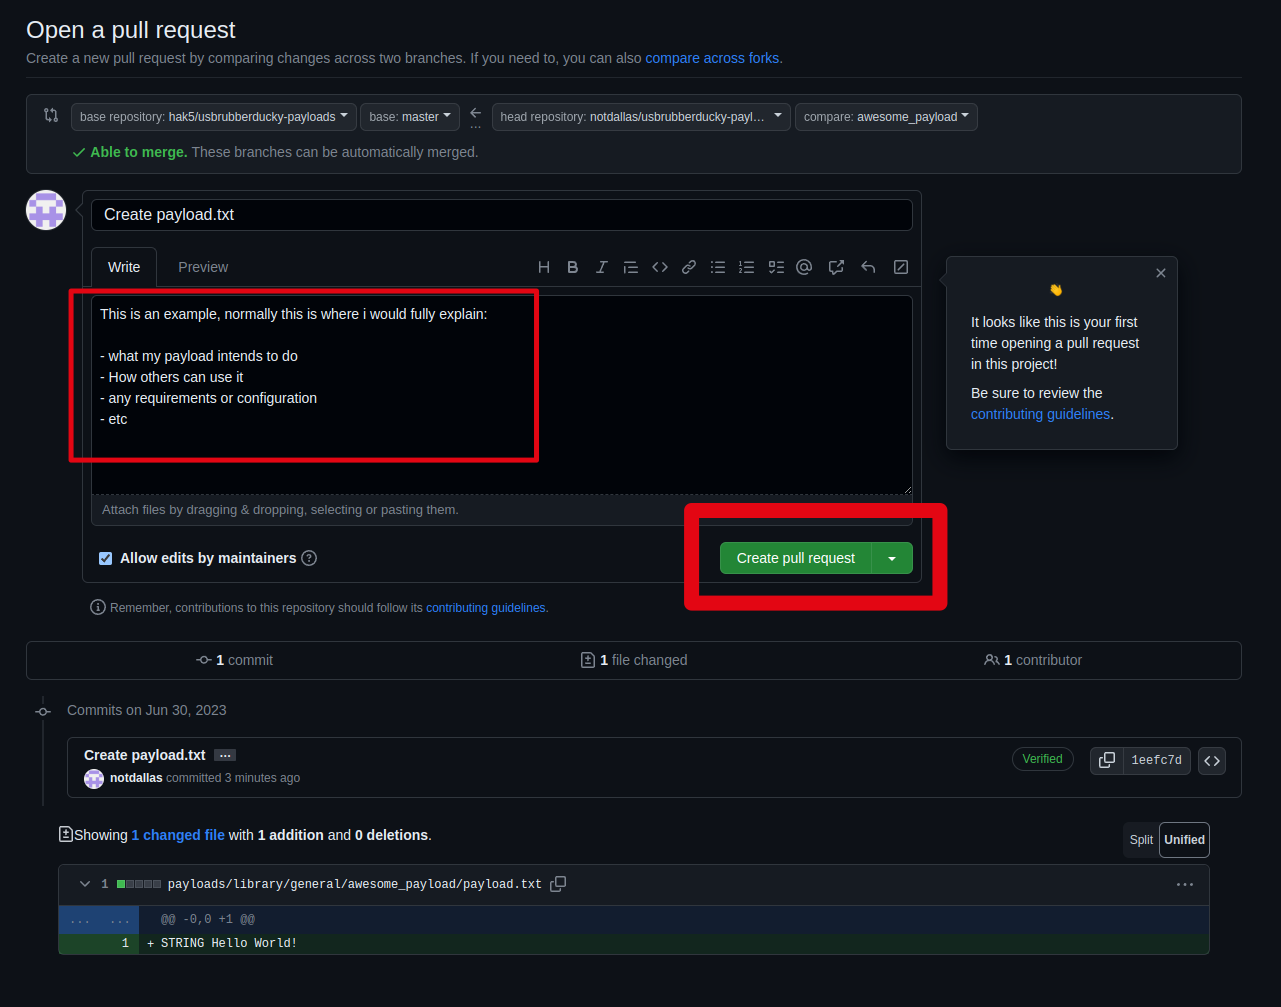
Create Pull Request
From this page you will be asked to:
- Name your pull request
- Describe your changes (additions)
This page will also show you a summary of:
- Commits that will be merged if accepted
- Diffs of each file changed or added if accepted
Take your time and review this carefully!
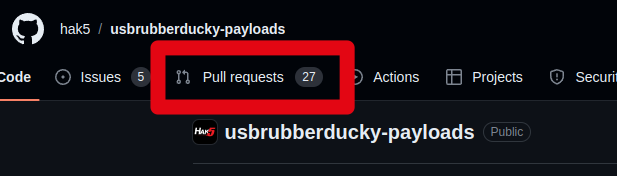
During the review process your Pull Request can bee seen in this list on the Hak5 Repo
Your PR will be listed on the Hak5 repo under the Pull Requests tab until it is accepted and merged into the official repo.
Pay close attention to your Github notifications (likely via email, depending on your github account settings) during this time - We may ask for clarification, or even request specific changes be made before accepting.
Submission accepted!
Congrats! Once the PR has been merged it will be a part of the Hak5 repo!
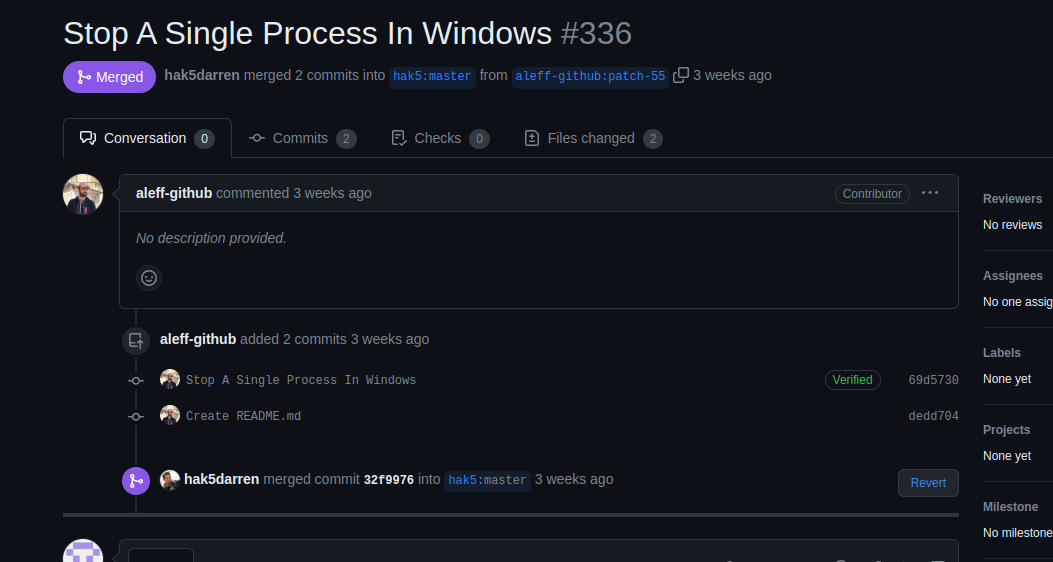
Merged PR
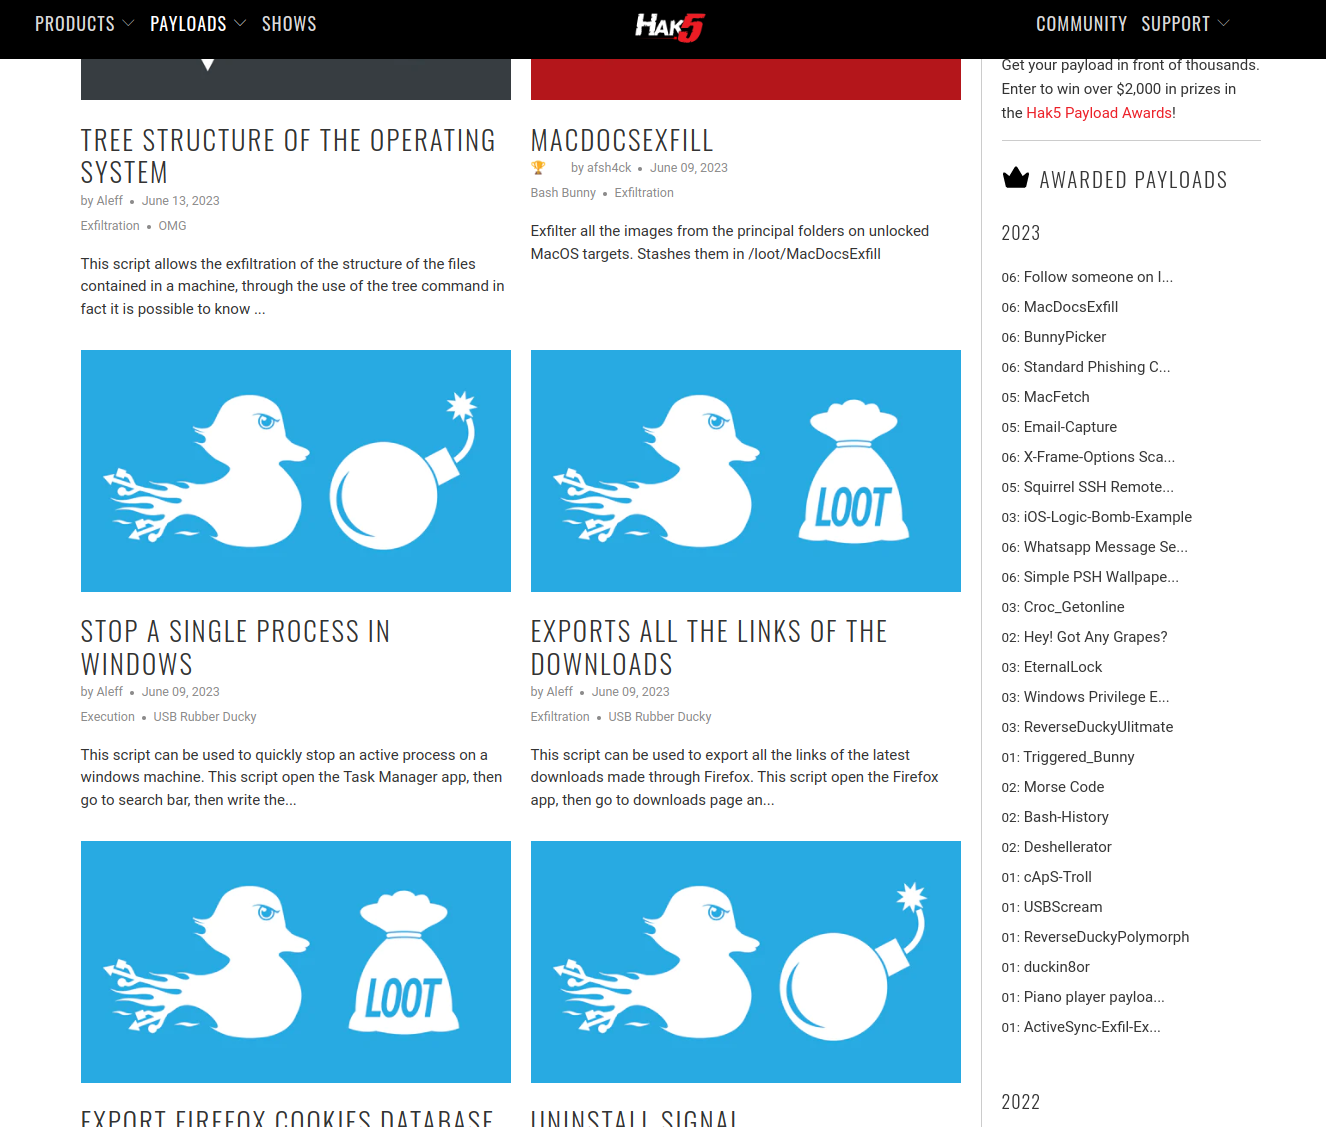
PayloadHub
From here there is a manual process on our end that will further review and add it to PayloadHub
Further Understanding Git
The ultimate resource for understanding how to best use GitHub: https://docs.github.com/en/get-started/quickstart/hello-world
Terminology
Commits:
Similar to saving a file that’s been edited, a commit records changes to one or more files in your branch. Git assigns each commit a unique ID, called a SHA or hash, that identifies:
- The specific changes
- When the changes were made
- Who created the changes
Branches:
Use a branch to isolate development work without affecting other branches in the repository. Each repository has one default branch, and can have multiple other branches. You can merge a branch into another branch using a pull request.
Branches allow you to develop features, fix bugs, or safely experiment with new ideas in a contained area of your repository.
Forks:
A fork is a new repository that shares code and visibility settings with the original “upstream” repository.
Pull Requests:
You can create a pull request to propose changes you’ve made to a fork of an upstream repository.