Quick Deployment On An Amazon Lightsail Vps
This guide shows a quick way to get setup with Cloud C² on Amazon Lightsail. It’s not comprehensive, and it assumes you’re savvy in the cloud & command line.
VIDEO GUIDE
HOW DO I GET CLOUD C²
Go to https://shop.hak5.org/cart/add?id=12992425820273 and checkout to get a license key emailed to you. Then go to https://downloads.hak5.org/cloudc2 to download the latest – or just run the code below.
I ALREADY HAVE A VPS
Run this code:
  wget https://downloads.hak5.org/api/devices/cloudc2/firmwares/latest -q -O c2.zip && unzip -qq c2.zip && \
IP=$(curl -s https://checkip.amazonaws.com) && \
echo "Copy the below setup token and browse to http://$IP:8080" && \
./c2-*_amd64_linux -hostname $IP
Obviously it assumes you’re running a 64-bit Linux server, and it’s hitting Amazon to figure out the external IP address. Adjust as necessary. Requires unzip to be installed, so apt install unzip if it isn’t.
AMAZON LIGHTSAIL QUICK SETUP
Amazon Lightsail is an easy, inexpensive VPS – perfect for quick development work. Instances start at $3.50/month (at time of writing: Q2-2020). You will need to go through a few extra steps to add a free static IP address and firewall rules, but other than that it’s pretty straight forward.
Go to https://lightsail.aws.amazon.com/ls/webapp/create/instance and follow the prompts.
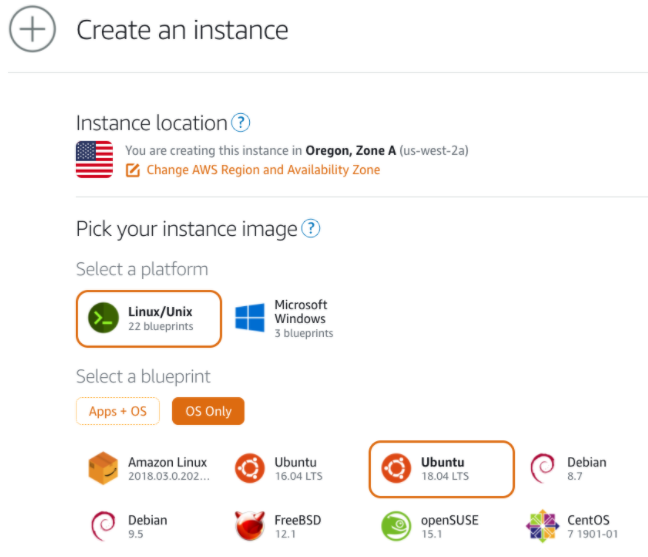
We prefer Linux, OS Only, Ubuntu 18.04 LTS in this example.
At time of writing, Ubuntu 18.04 LTS was the latest long-term-support version of Ubuntu. We always recommend using the latest stable OS version.
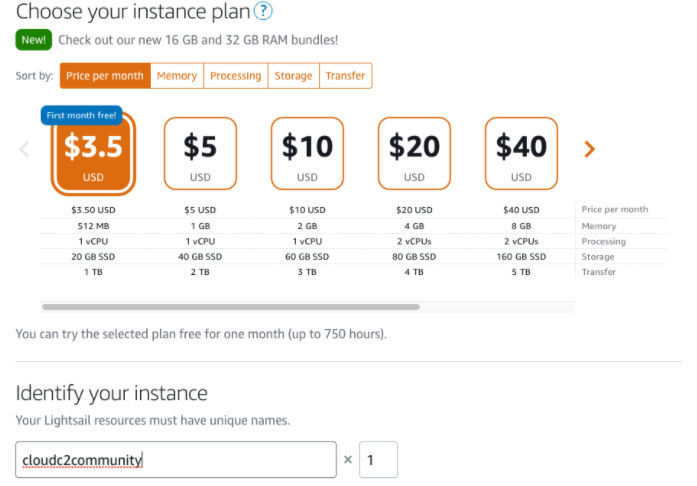
We prefer the least expensive one and name it something memorable. Adjust as necessary.
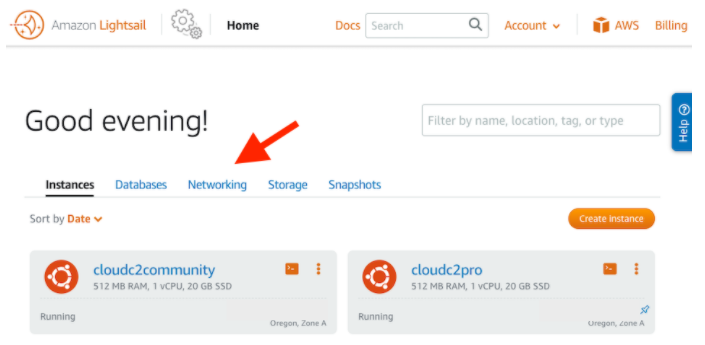
Once your instance has been created, click into the Networking tab from the Dashboard

Click Create static IP
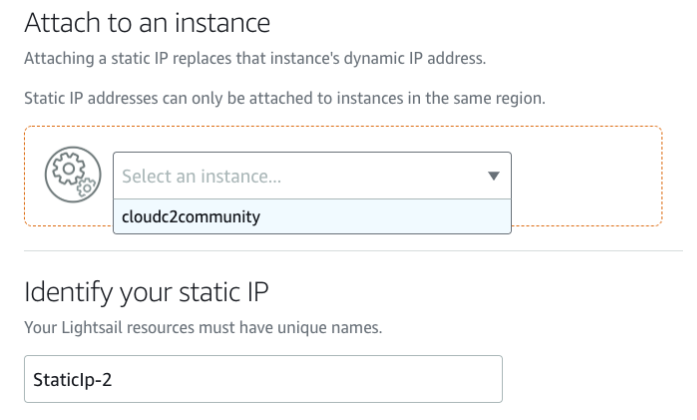
Attach the IP to your instance and click Create
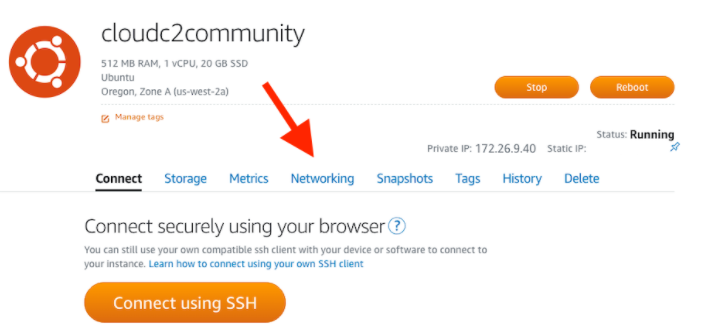
Click into the instances dashboard and navigate to its Networking tab
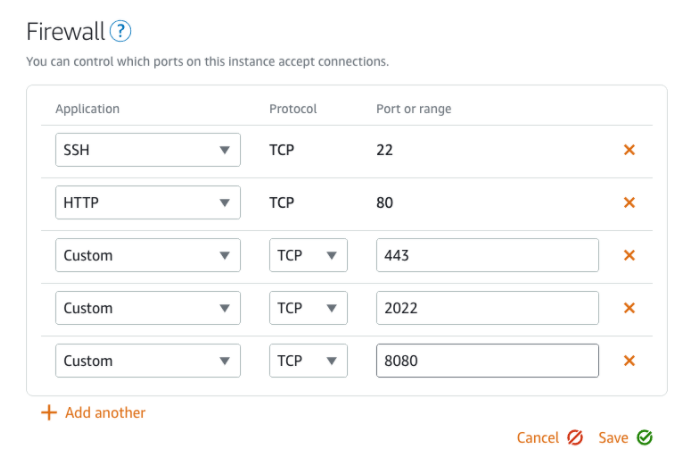
Add TCP ports 443, 2022 and 8080 and click Save. The usual 22 and 80 should already be setup.
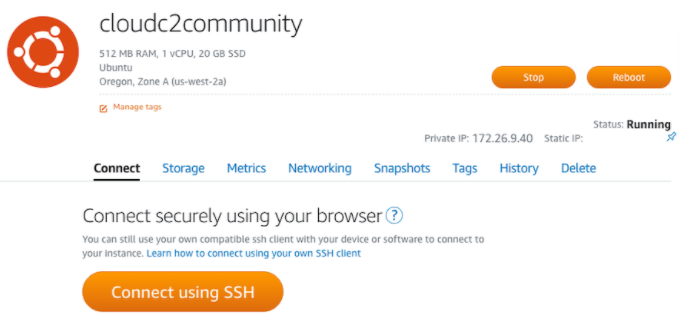
From the instances dashboard, navigate to the Connect tab and click the big Connect using SSH button.
If you’ve gone with the Ubuntu 18.04 LTS option, you’ll need to install unzip. For some reason it isn’t installed by default. From the terminal, run:
sudo apt install unzip
Finally, run the code snippet above and follow the on screen instructions.
CLOUD C² IS RUNNING. NOW WHAT?
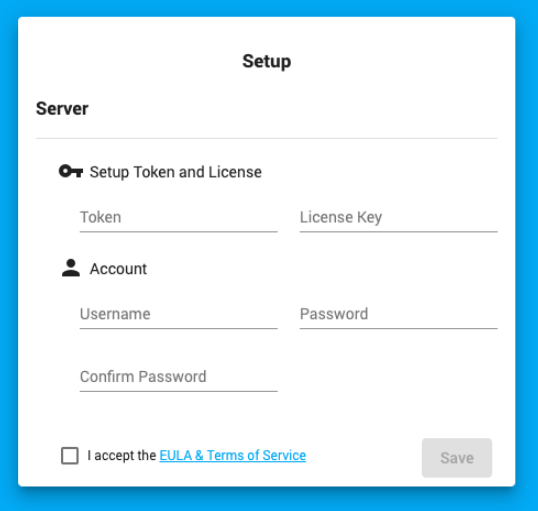
When you first navigate to the URL presented from the terminal, you’ll be prompted to provide your token (printed in the terminal), your license key (emailed to you) and setup an account.
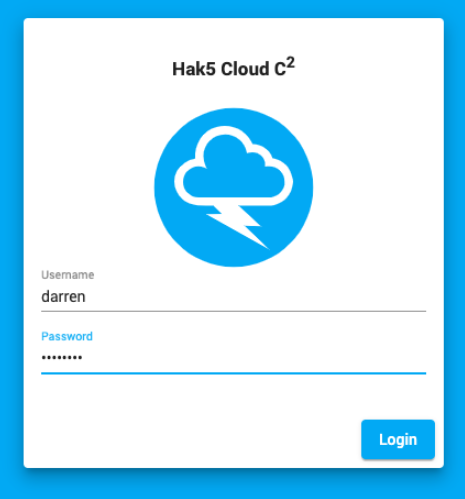
Then you’ll be prompted to login.
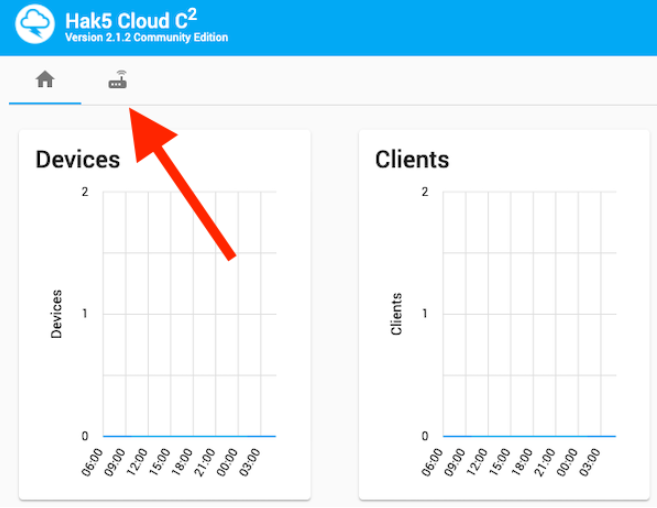
From the dashboard, navigate to the devices tab.
From the devices tab, click Add Device
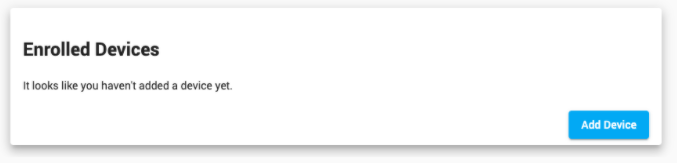
Give the device a name and select its device type, then click Add Device.
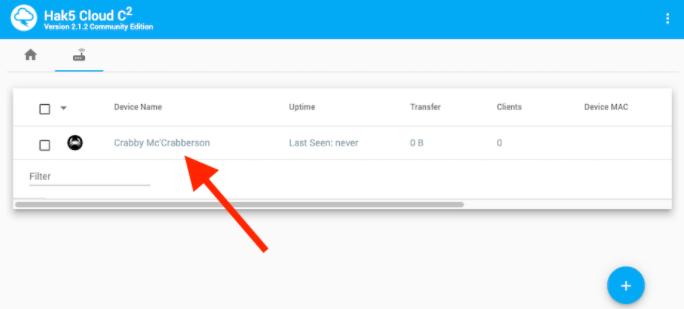
Click on the device name from the listing to open the device tab.
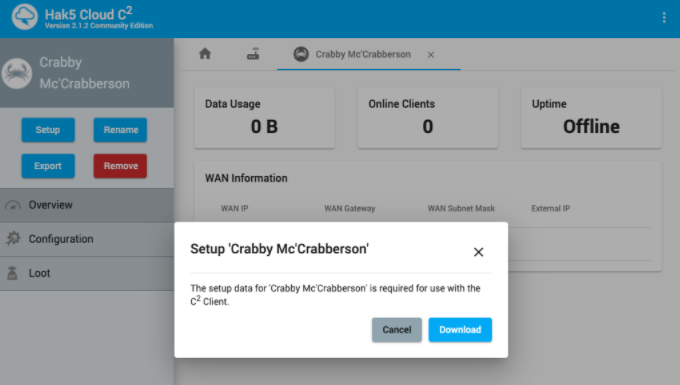
Click Setup, then Download to download the device provisioning file – device.config
See this article on Adding Devices to Cloud C² for more details.